How To Crochet An Angel Amigurumi Cuddler Pillow With Rosy Cheeks And Kawaii Smile. Our Angel Crochet Pattern Works Up Quickly!
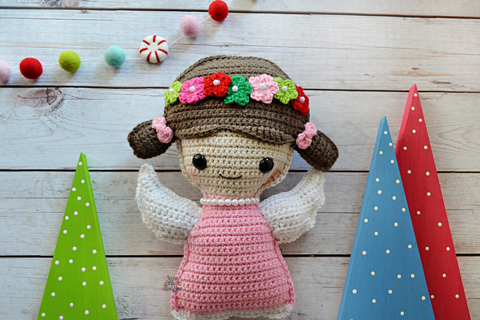
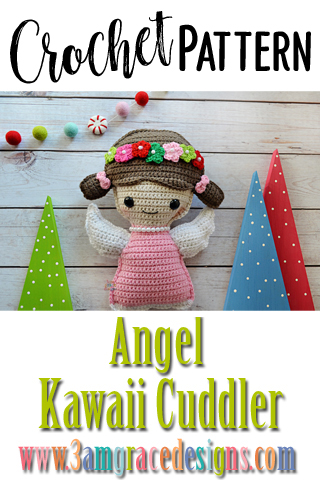
Hi friend! We’re happy to share our Angel crochet pattern Kawaii Cuddler® with you. She’s ever so dainty with her flower halo & pearl necklace. We’re dedicating our Angel crochet pattern to two beautiful angels that left Earth far too soon – Ava & Brooklyn.
Some facts about Angels:
1 – The term angel literally means “messenger,” and it is in this prominent role that angels take part in the Christmas story.
2 – Contrary to their depiction as gentle feminine creatures that top Christmas trees and hover over Nativity Scenes, the Bible reveals angels as persons of tremendous strength.
3 – When Christmas is around the corner, angels virtually appear everywhere. It is believed that the Christmas angels fill the air with festivity.
Our Angel crochet pattern is happy to join our other Christmas friends Stocking Kawaii Cuddler™, Red Christmas Truck Kawaii Cuddler™, & Pumpkin King Kawaii Cuddler™.
This is a beginner level pattern. Our finished Angel project is 10″ x 13″ using the recommended hook size. You are welcome to go up or down a hook size to create a different dimension. You can even hold two pieces of yarn together with a larger hook to create a giant cuddler. The sky is the limit!
If you’ve never worked one of our Kawaii Cuddler® patterns, they are geared towards beginners. You will work two flat pieces and single crochet them together to finish the piece. Even if you’ve never been able to crochet from a pattern before, we’re confident you can create with a 3amgracedesigns pattern. We encourage you to join our Facebook Group where we remain active helping with questions! We love passing our love for the craft on to others!
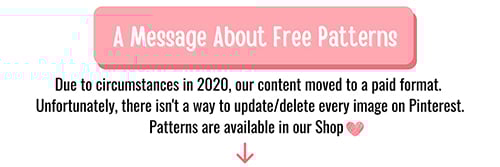
Click HERE to purchase the Angel Kawaii Cuddler® crochet pattern
We hope you enjoy making your very own angel! We can’t wait to see your creativity. When you complete one, please post it in our Facebook group or tag us on Instagram #3amgracedesigns. We love seeing your work!
Don’t forget to PIN this project to your Pinterest Boards!

Click HERE to purchase the Angel Kawaii Cuddler® crochet pattern