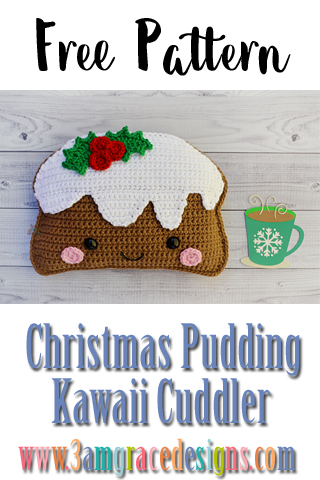
How To Crochet An Amigurumi Christmas Pudding Kawaii Cuddler Pillow. Our Free Christmas Pudding Crochet Pattern Makes An Adorable Christmas Decoration!
We’re excited to share our free Christmas Pudding crochet pattern with you. We’re honored to be participating in the 2020 Holiday Stashdown CAL.
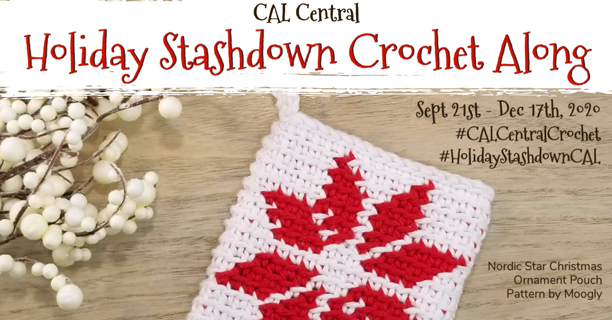
How the 2020 Holiday Stashdown CAL Works
Every Monday and Thursday from September 21 through December 17, 2020, we’ll share a free crochet pattern by a different designer. Each pattern will be a one-skein project, or a stashbuster/scrappy project, so you can work from your own existing yarn stash to make a great winter holiday gift, decoration, or wrap. If you’d like to go ahead and buy some yarn just for the project, we won’t stop you! We love yarn as much as you do.
How To Join the 2020 Holiday Stashdown CAL
- You can join in by crocheting the patterns as you have time.
- Share your progress and post pictures of your finished projects. Tag your projects and posts #CALCentralCrochet and #HolidayStashdownCAL on all social media.
- If you’d like to chat with other crocheters, join the CAL Central Crochet Facebook group, or visit this thread in the CAL Central Ravelry group.
- By the end of the CAL, you’ll have up to 26 gifts, decorations, or wrap projects for the winter holidays.
Visit Underground Crafter to learn more about the prizes, enter the end-of-CAL giveaway, and to get links to each Holiday Stashdown CAL pattern as it is released.
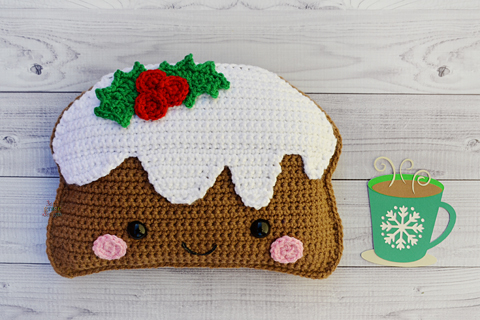
Our Christmas Pudding Kawaii Cuddler® joins our other Christmas friends Gingerbread Boy Kawaii Cuddler®, Gingerbread Girl Kawaii Cuddler®, & Gingerbread House Kawaii Cuddler®.
This is a beginner level pattern. Our finished project is 11″ x 9″ in diameter using the recommended hook size. You are welcome to go up or down a hook size to create a different dimension. You can even hold two pieces of yarn together with a larger hook to create a giant cuddler. The sky is the limit!
If you’ve never worked one of our Kawaii Cuddler® patterns, they are geared towards beginners. You will work two flat pieces and single crochet them together to finish the piece. Even if you’ve never been able to crochet from a pattern before, we’re confident you can create with a 3amgracedesigns pattern. We encourage you to join our Facebook Group where we remain active helping with questions! We love passing our love for the craft on to others!
We hope you enjoy our Christmas Pudding crochet pattern! We can’t wait to see your creativity. When you complete one, please post it in our Facebook group or tag us on Instagram #3amgracedesigns. We love seeing your work!
Don’t forget to PIN this project to your Pinterest Boards!

CLICK HERE for the ad-free, printable PDF pattern
Materials
* Size I (5.5mm) Crochet Hook
* Hobby Lobby “I Love This Yarn” in Toasted Almond, White, Red, Jellybean, & Pink
* Two 18mm Black Safety Eyes (We’ve added them to Our Shop for your convenience)
* Poly-fil Stuffing
* Tapestry Needle
* Black puff paint or embroidery floss
* Craft glue or hot glue gun (optional)
Abbreviations
Ch – Chain
SC – Single Crochet
Inc – Single Crochet Increase
Dec – Single Crochet Decrease
HDC – Half Double Crochet
DC – Double Crochet
DC Inc – Double Crochet Increase
FO – Fasten Off
MR – Magic Ring
Sl St – Slip Stitch
Dimensions/Gauge:
11” x 9”
*Notes: Unless otherwise specified, you will Ch1 and turn at the end of each row throughout the pattern. The front side of the work is indicated by the starting tail being on the bottom left.
Christmas Pudding
Make 2.
Row 1 – With Toasted Almond yarn, Ch41, SC in second Ch from hook and in each Ch across (40)
Row 2 – SC across (40)
Row 3 – Inc, SC38, Inc (42)
Rows 4-9 – SC across (42)
Row 10 – Dec, SC38, Dec (40)
Rows 11-14 – SC across (40)
Row 15 – Dec, SC36, Dec (38)
Rows 16-17 – SC across (38)
Row 18 – Inc, SC36, Inc (40)
Row 19 – SC across (40)
Row 20 – Inc, SC38, Inc (42)
Rows 21-23 – SC across (42)
Row 24 – Dec, SC38, Dec (40)
Row 25 – SC across (40)
Row 26 – Dec, SC36, Dec (38)
Row 27 – SC across (38)
Row 28 – Dec, SC34, Dec (36)
Row 29 – Dec, SC32, Dec (34)
Row 30 – Dec, SC30, Dec (32)
Row 31 – Dec, SC28, Dec (30)
Row 32 – Dec, SC26, Dec (28)
Row 33 – Dec, SC24, Dec (26)
Row 34 – Dec, SC, HDC20, SC, Dec (24)
Row 35 – Dec, SC, HDC18, SC, Dec (22)
FO, Weave in ends.
Icing
Make 1.
Row 1 – With White yarn, Ch43, SC in second Ch from hook and in each Ch across (42)
Rows 2-3 – SC across (42)
Row 4 – Dec, SC38, Dec (40)
Row 5 – SC across (40)
Row 6 – Dec, SC36, Dec (38)
Row 7 – SC across (38)
Row 8 – Dec, SC34, Dec (36)
Row 9 – Dec, SC32, Dec (34)
Row 10 – Dec, SC30, Dec (32)
Row 11 – Dec, SC28, Dec (30)
Row 12 – Dec, SC26, Dec (28)
Row 13 – Dec, SC24, Dec (26)
Row 14 – Dec, SC, HDC20, SC, Dec (24)
Row 15 – Dec, SC, HDC18, SC, Dec (22)
FO, Weave in ends.
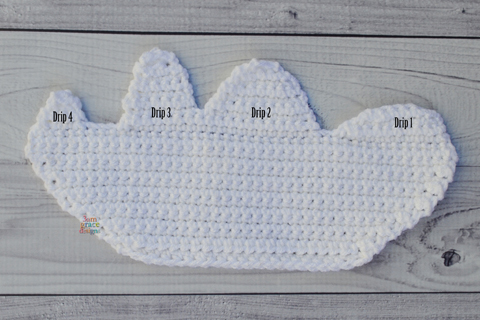
Icing Drips
Drip 1
Row 1 – With White yarn, panel upside down, Dec, SC9, Dec (11) Leave remaining 29 stitches unworked
Row 2 – Dec, SC9 (10)
Row 3 – Dec, SC6, Dec (8)
Row 4 – Skip first stitch, Dec, SC3, Dec (5)
FO, Weave in ends.
Drip 2
Row 1 – With White yarn, beginning in next unworked stitch, Dec, SC17, Dec (19) Leave remaining 8 stitches unworked
Row 2 – SC17, Dec (18)
Row 3 – SC9, Dec (10) Leave remaining 7 stitches unworked
Row 4 – SC across (10)
Row 5 – Dec, SC6, Dec (8)
Row 6 – SC across (8)
Row 7 – Dec, SC4, Dec (6)
Row 8 – Dec, SC2, Dec (4)
Row 9 – Dec, Dec (2)
FO, Weave in ends.
Drip 3
Row 1 – With White yarn, beginning in next unworked stitch from Row 2 of Drip 2, SC7 (7)
Row 2 – SC across (7)
Row 3 – Dec, SC3, Dec (5)
Rows 4-5 – SC across (5)
Row 6 – Dec, HDC, Dec (3)
Row 7 – SC, HDC, SC (3)
FO, Weave in ends.
Drip 4
Row 1 – With White yarn, beginning in next stitch from Drip 3, Dec, SC2, Dec (4)
Row 2 – SC across (4)
Row 3 – Dec, Dec (2)
Row 4 – Dec (1)
FO, Leave long tail for sewing.
Berries
Make 3.
{Berries are worked in a continuous round, do not join}
Round 1 – With Red yarn, MR, SC6 (6)
Round 2 – Inc x6 (12)
FO, Leave long tail for sewing.
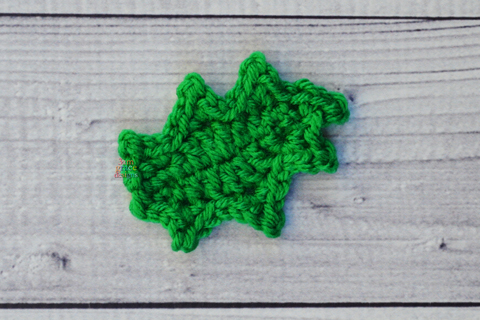
Holly Leaves
Make 2.
Row 1 – With Jellybean yarn, Ch10, SC in second Ch from hook, SC, HDC, DC, DC Inc, DC, HDC, SC2
Working on opposite side of starting Ch, SC2, HDC, DC, DC Inc, DC, HDC, SC2, Sl St to join (20)
Row 2 – (Sl St, SC, Ch2, Sl St in second Ch from hook, SC in same base stitch), (Sl St 2, SC, Ch2, Sl St in second Ch from hook, SC in same base stitch) x2, (Sl St, SC, Ch2, Sl St in second Ch from hook, SC in same base stitch), (Sl St 2, SC, Ch2, Sl St in second Ch from hook, SC in same base stitch) x3
FO, Leave long tail for sewing.
Cheeks
Make 2.
Round 1 – With Pink yarn, MR, SC6 (6)
Round 2 – Inc x6 (12)
FO, Leave long tail for sewing.
Alternative to Safety Eyes
Make 2.
{Eyes are worked in a continuous round, do not join}
Round 1 – With Black yarn, MR, SC6 (6)
Round 2 – Inc x6 (12)
FO, Leave long tail for sewing.
Assembly
* Place safety eyes between Rows 9 & 10, roughly 15 stitches apart.
* Sew or glue Cheeks in desired location.
* Use black puff paint or embroidery floss to create desired mouth.
* Align Christmas Pudding halves so ends of rows match. SC around both pieces to join together. Stuff with Poly-fil prior to completing stitching. Make sure you work in a counter-clockwise direction so your stitches face forward.
* Sew or glue Icing to Christmas Pudding front panel.
* Sew or glue Holly Leaves & Berries in desired locations.
All photos and text are copyright © 2020 – 3amgracedesigns. All rights reserved. Please do not sell or distribute this pattern in part or in whole. You are welcome to sell finished items you make from this free Christmas Pudding crochet pattern. A credit to “3amgracedesigns” as the designer is appreciated but not required. Thank you!
CLICK HERE for the ad-free, printable PDF pattern