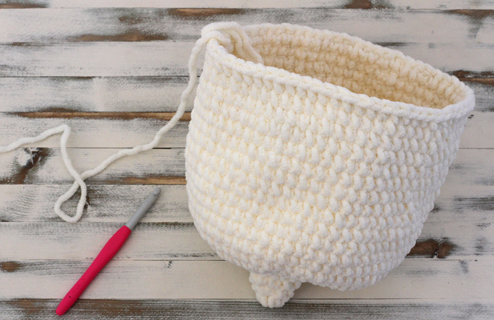
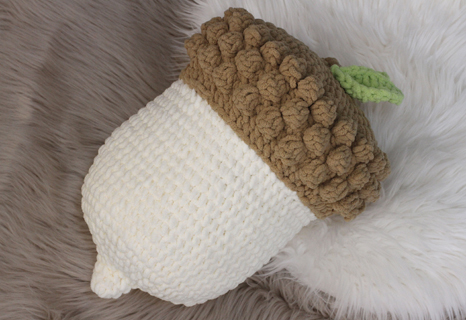
BOTTOM OF ACORN:
With yarn and L/8.0 mm hook. Pattern is worked in the round. If it’s hard to see your ch1 at the beginning of the row use a stitch marker to help you. Ch 1 does not count as a stitch through the entire pattern.
Row 1: Using a magic ring, ch 1, sc 6 into magic ring and sl st to the top of 1st sc. (6 sc)
Row 2: Ch 1, sc 2, 2sc. Repeat sc 2, 2sc and sl st to the top of 1st sc. (8 sc)
Row 3: Ch 1, sc 3, 2sc. Repeat sc 3 2sc and sl st to the top of 1st sc. (10 sc)
Row 4: Ch 1, sc, 2sc. Repeat *sc, 2sc* around and sl st to the top of 1st sc. (15 sc)
Row 5: Ch 1, sc 2, 2sc. Repeat *sc 2, 2sc* around and sl st to the top of 1st sc. (20 sc)
Row 6: Ch 1, sc, 2sc. Repeat *sc, 2sc* around and sl st to the top of 1st sc. (30 sc)
Row 7: Ch 1, sc 2, 2sc. Repeat *sc 2, 2sc* around and sl st to the top of 1st sc. (40 sc)
Row 8: Ch 1, sc 3, 2sc. Repeat *sc 3, 2sc* around and sl st to the top of 1st sc. (50 sc)
Row 9: Ch 1, sc 4, 2sc. Repeat *sc 4, 2sc* around sl st to the top of 1st sc. (60 sc)
Row 10 – 23: Ch 1, sc around and sl st to the top of 1st sc and cut a tail to sew in. Sew loose end with a large tapestry hook. (60 sc)
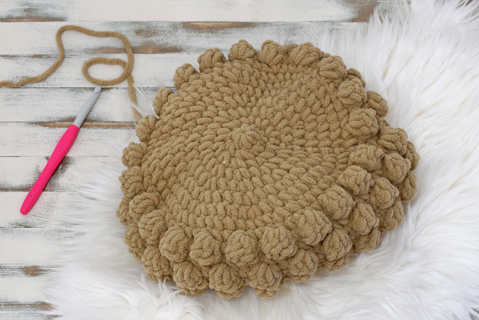
TOP OF ACORN:
Make sure to turn work where indicated or bobbles will be on the wrong side of the work. Bobble is yarn over, insert your hook, pull up a loop, yarn over, pull through just 2 loops, repeat 3 more times until you have 5 loops on your hook, yarn over and pull through all 5 loops on your hook.
Row 1: Using a magic ring, ch 1, sc 5 into magic ring and sl st to the top of 1st sc. (5 sc)
Row 2: Ch 1, 2sc in each stitch. Repeat *2sc in each stitch* and sl st to the top of 1st sc. (10 sc)
Row 3: Ch 1, 2sc in each stitch. Repeat *2sc in each stitch* and sl st to the top of 1st sc. (20 sc)
Row 4: Ch 1, sc, 2sc. Repeat *sc, 2sc* around and sl st to the top of 1st sc. (30 sc)
Row 5: Ch 1, sc 2, 2sc. Repeat *sc 2, 2sc* around and sl st to the top of 1st sc. (40 sc)
Row 6: Ch 1, sc 3, 2sc. Repeat *sc 3, 2sc* around and sl st to the top of 1st sc. (50 sc)
Row 7: Ch 1, sc 4, 2sc. Repeat *sc 4, 2sc* around and sl st to the top of 1st sc. (60 sc)
Row 8: Ch 1, sc 9, 2sc. Repeat *sc 9, 2sc* around and sl st to the top of 1st sc. (66 sc)
Row 9: Ch 1, sc around and sl st to the top of 1st sc. (66 sc)
Row 10: Ch 1, turn work, working into below the ch 1, sc, bo (bobble) in next stitch, sc. Repeat *sc, bo, sc* around and sl st to the top of 1st sc. (66 stitches)
Row 11: Ch 1, turn work, sc into below ch 1 and sc around. Sl st to the top of 1st sc. (66 sc)
Row 12: Ch 1, turn work, bo, sc, sc. *Repeat bo, sc, sc* around and sl st to the top of 1st sc. (66 stitches)
Row 13: Ch 1, turn work, sc around and sl s to the top of 1st sc. (66 sc)
Row 14: Ch 1, turn work, sc, bo, sc. Repeat *sc, bo, sc* around and sl st to the top of 1st sc. (66 stitches)
Row 15: Ch 1, turn work, sc around and sl st to the top of 1st sc. (66 sc)
Row 16: Ch 1, sc around and sl st to the top of 1st sc. (66 sc)
Row 17: Ch 1, sc around and sl st to the top of 1st sc. Cut a tail the length of 3 times around circumference of the top to sew pieces together. (66 sc)
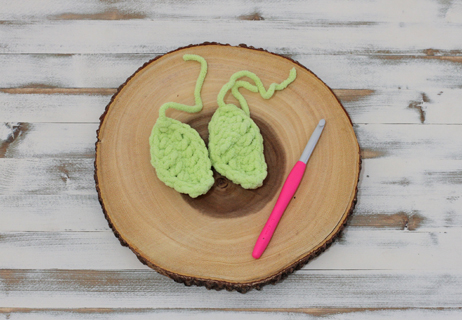
LEAVES:
Helpful tip is when working on backside grab loose tail form beginning and work over it so you have 2 tails on the same end when you finish.
Ch 9, sc in 2nd ch from hook, hdc in next, dc in next 3, hdc in next, sc in next 2, ch 1. Now work on back side, sc in 1st stitch, sc in 2nd stitch, hdc in next, dc in the next 3, hdc in next, sc in next and sl st to the top of 1st sc.
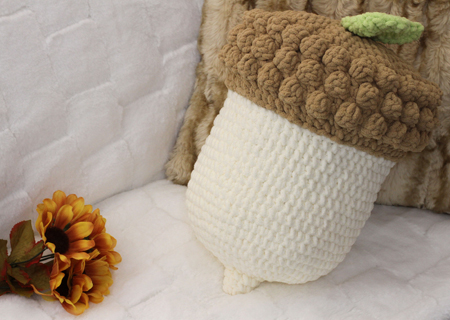
ASSEMBLY:
Make sure the and bottom and top are the right side out and ends inside are sewn or knotted. Sew leaves on top and knotted on inside. Line up top and bottom evenly taking into consideration you have 6 extra stitches on the top piece. Stuff bottom piece with polyfill and straight stitch bottom of last single crochet row on to the top last single crochet row of the bottom piece. When you have about 3 – 4 inches left finishing stuffing to your liking. Sew in loose end.


This an awesome pillow!! Thank you for sharing!! I think my 5 grandsons will need one of their own, and undoubtedly, like your sons, will have so much fun throwing them at each other too!!! Cant wait to make some for all of us to enjoy!!!!
Cute! Cute! Cute! Thank you for sharing!
Wao this is really nice work,thanks for sharing dear
Thank you so much for this great pattern. I used medium size 4 yarn doubled. This design worked up very fast. I was able to finish it in one evening! A wonderful addition to my Fall decor.
So glad to hear that! If you’re in our FB group, we’d love to see it!